
How to DIY Epoxy Your Concrete Floor in Singapore (Without it Peeling)
Share This Blog
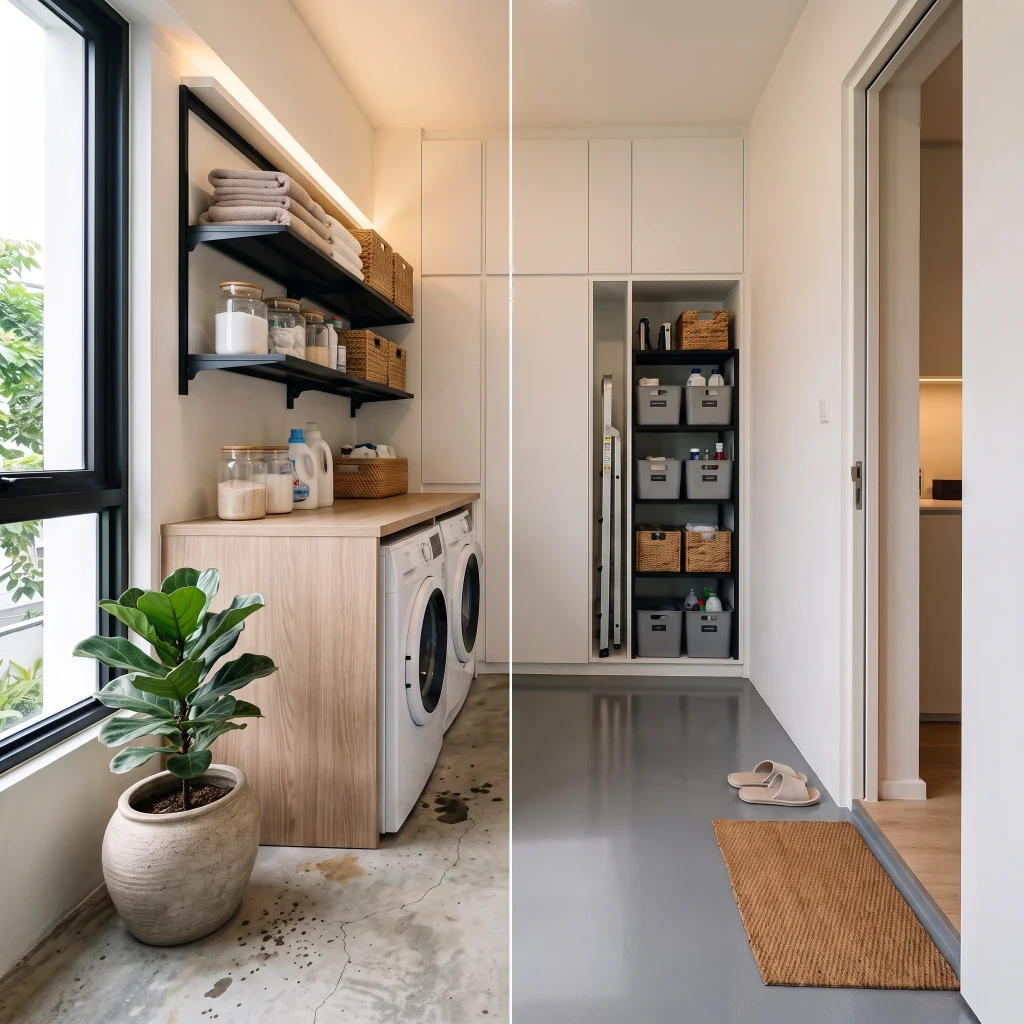
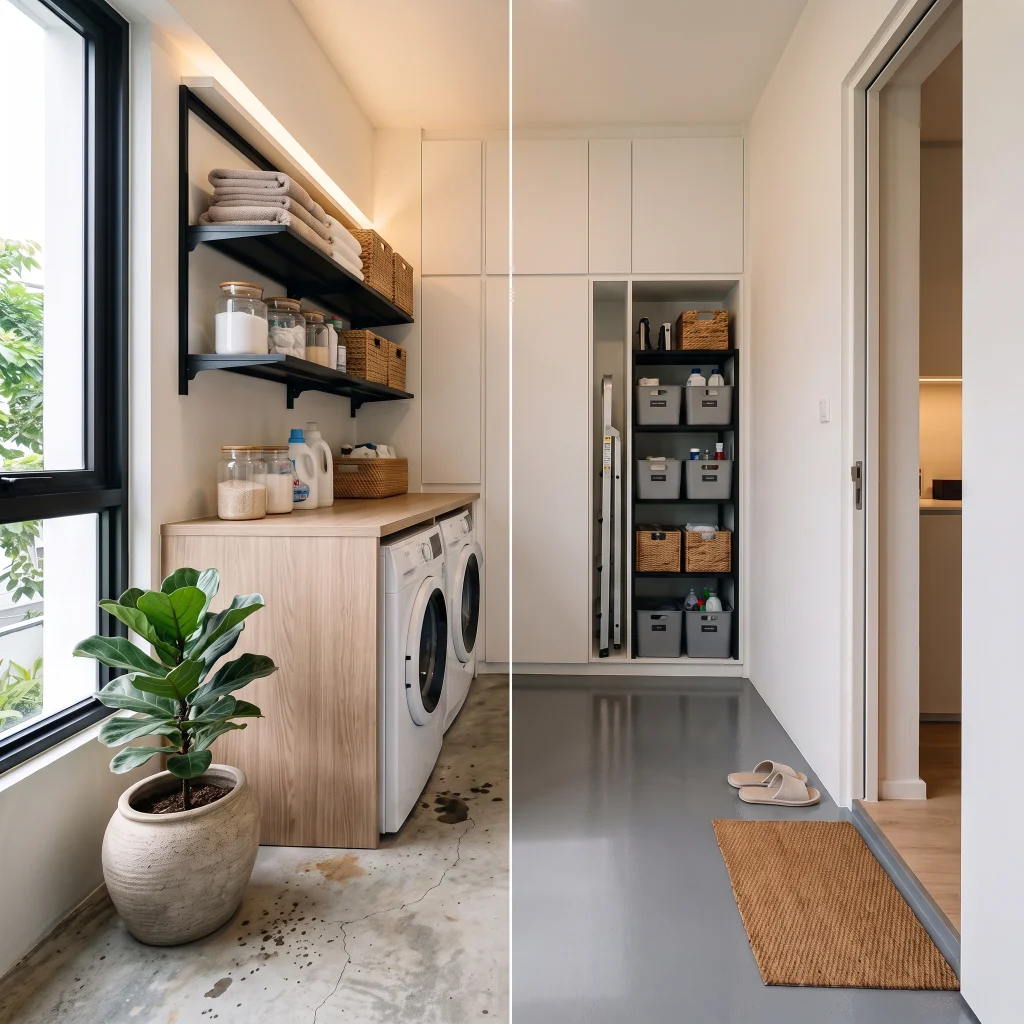
Thinking of giving your storeroom, BTO household shelter, or balcony that clean, industrial look? Epoxy is a great choice. It stops annoying concrete dust from tracking into your living room, wipes clean instantly, and looks incredibly sharp.
But if you are standing in a local hardware shop or browsing online stores wondering, “Can I just skip the hardener and paint it straight?”—stop right there. Let’s break down exactly how epoxy works in our sweaty Singapore weather, why skipping components will ruin your floor, and how to apply it step-by-step so it actually lasts for years.
The Big Mistake: Will Epoxy Paint Dry Without a Hardener?
The straight answer is absolutely not. If you try to apply true epoxy paint without its specific hardener, you will end up with a sticky, gooey, wet sludge that will never dry.
Understanding Curing vs. Drying
To understand why, you have to look at the science. Regular wall paint dries through simple evaporation. The water or chemical solvents inside the paint slowly escape into our humid air, leaving a layer of solid pigment behind. Epoxy doesn’t care about evaporation. It transforms from a liquid to a solid through a chemical reaction called cross-linking.
An epoxy floor kit always comes as a two-part system: Part A (the resin base) and Part B (the hardener). When you mix them together, a chemical reaction occurs that chains the molecules together into a dense, plastic-like structure.
What Happens If You Skip Part B?
- Permanent Mess: If you paint Part A onto your concrete on its own, it will remain sticky indefinitely. It will trap every bit of dust, hair, and dirt that floats by.
- Nightmare Cleanup: Removing uncured resin requires scrubbing your floor with litres of aggressive, expensive solvents like acetone, which smells terrible and can ruin your drainage pipes.
- Zero Structural Strength: Even if you wait a month and the surface feels slightly firm to the touch, it has no structural integrity. The very first time you step on it, drag a box, or park a motorbike, the film will tear, bubble, and peel right off the floor.
To get that legendary rock-hard protective shell, you must blend both parts completely in the exact ratio specified on the box.
Your DIY Shopping List
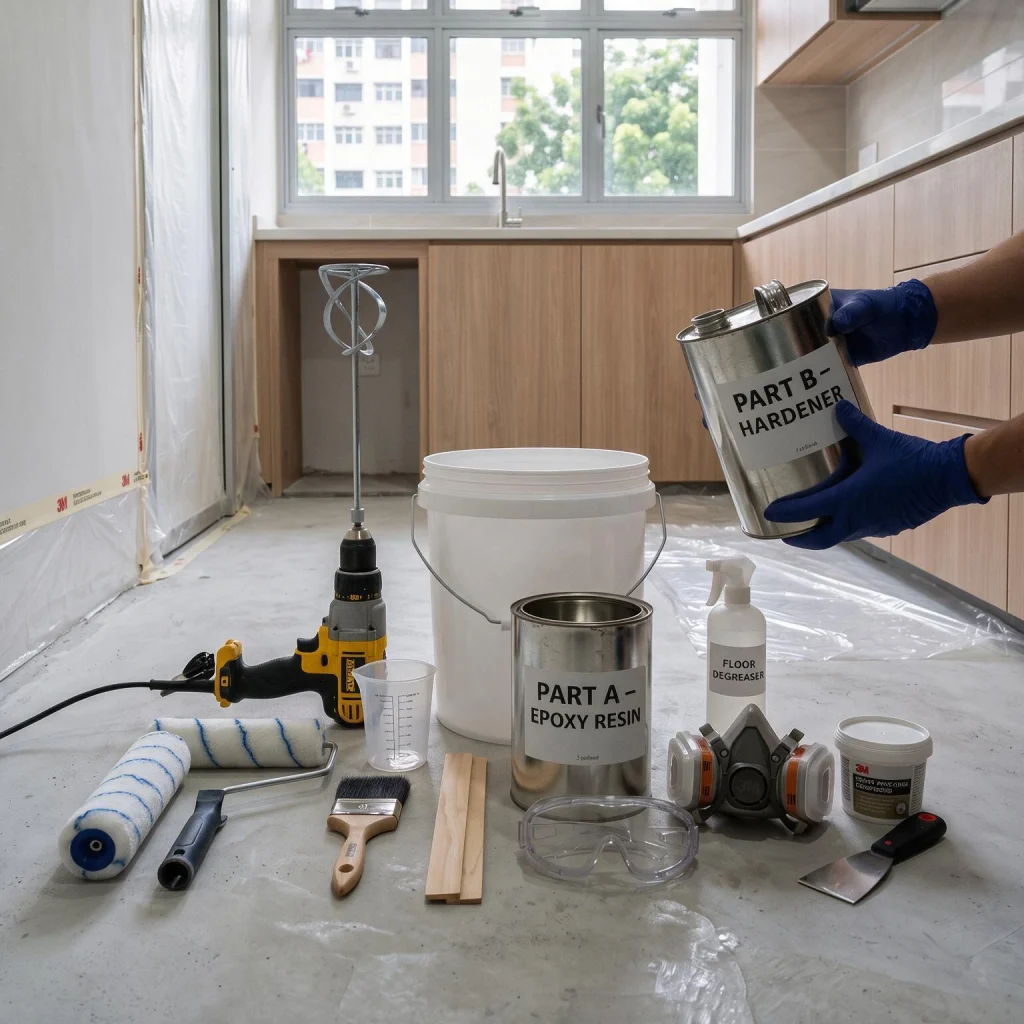
Do not just grab the cheapest generic paint canister. For concrete floors that endure heavy foot traffic or dampness, you need high-performance coatings. Proven local choices include heavy-duty formulas from the Seamaster Paint Official Store. Check out these essential items which you can pick up at traditional hardware shops around industrial estates like Ubi, Defu, or Toh Guan, or order online through Lazada Singapore and Shopee Singapore:
- Two-Part Epoxy Floor Kit: You can buy industrial-grade options by contacting us directly from the Seamaster Paint Official Website or check out product details on the official Seamaster Paint Website. Look into the Seamaster Epolux 9320 Epoxy Paint or the Seamaster Epoxy Enamel 9300 series, which are legendary for their resistance to oils, chemicals, and abrasion.
- Concrete Patching Compound: Necessary for filling up deep chips, gouges, or structural hairline cracks before painting.
- Heavy-Duty Floor Degreaser: A strong chemical cleaner to lift oil spots, tire marks, and deeply embedded dirt.
- Muriatic Acid or Commercial Etching Powder: Critical for roughing up the slick surface of smooth concrete.
- Application Tools: A stiff-bristle scrubbing brush, solvent-resistant paint rollers (3/8-inch nap), a sturdy extension roller pole, quality masking tape, and a decent paintbrush for the corners.
- Personal Safety Gear: Heavy rubber gloves, protective goggles, and a proper chemical cartridge respirator mask. This is vital if you are painting an enclosed storeroom or bomb shelter with zero natural ventilation!
Step 1: Prep Like Your Floor Depends On It (Because It Does)
1. Clear and Scrub
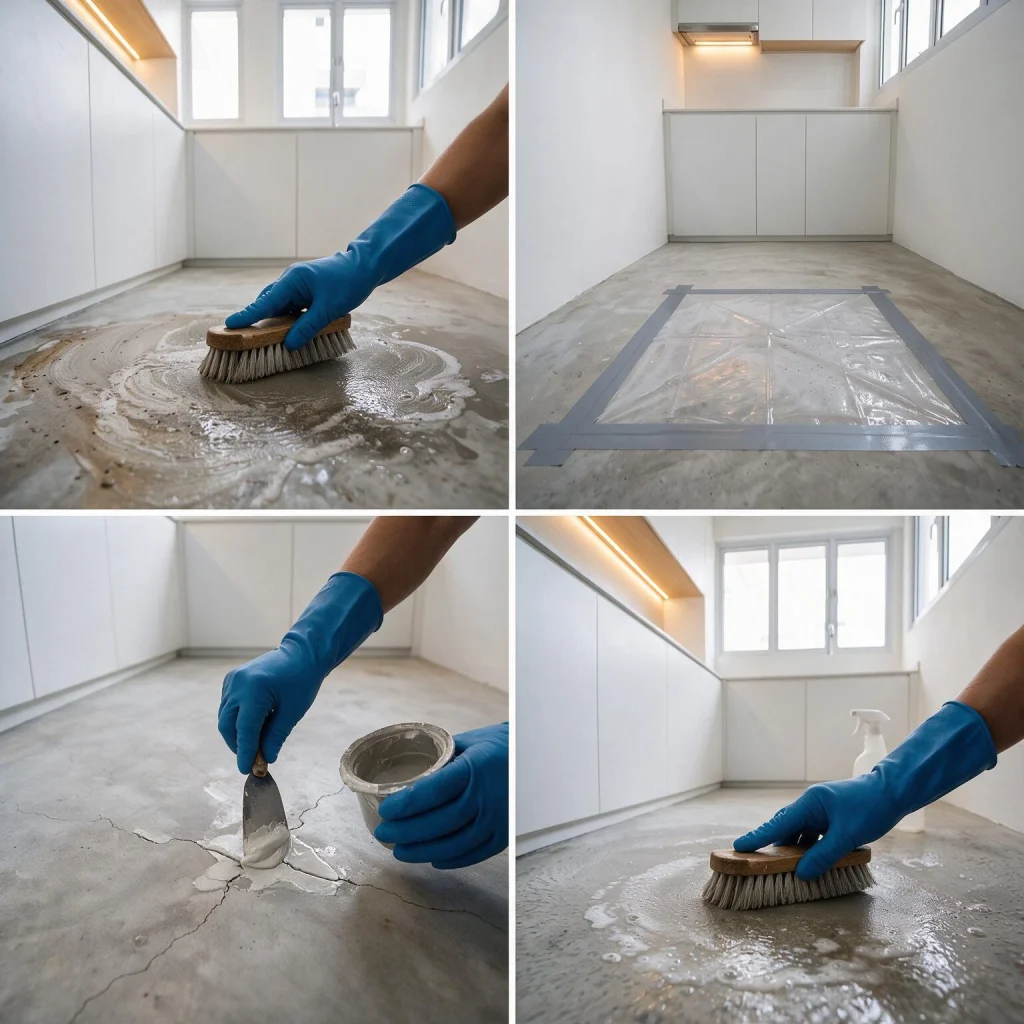
Empty the space completely. Sweep away all loose dust, then flood the floor with your heavy-duty degreaser. Scrub the surface vigorously with a stiff broom to open up the concrete pores and remove oily patches. Flush the floor clean with water until the rinse water runs perfectly clear.
2. The Plastic Wrap Moisture Test
Because ‘s climate is naturally hot and humid, moisture can easily get trapped inside concrete slabs, especially on ground-floor units or older properties. If ground moisture rises up after you paint, it will create ugly, pressurized bubbles under your epoxy.
- The Test: Cut a square sheet of clear plastic food wrap, place it flat on your concrete floor, and seal all four edges tightly using duct tape.
- The Wait: Leave it for 24 hours.
- The Verdict: Check under the plastic. If you see condensation droplets or the concrete looks noticeably darker, your floor is retaining too much moisture. You cannot apply epoxy yet; you will need a specialized moisture-blocking primer first.
3. Patch the Flaws
Walk the floor and inspect it for damages. Fill any pits, cracks, or deep scratches with an epoxy-based concrete patching compound. Use a flat putty knife to scrape the patch perfectly flush with the surrounding concrete. Let it dry completely.
4. Acid Etch the Concrete
Epoxy needs a rough surface texture—similar to medium-grit sandpaper—so it can mechanically grip the concrete.
- Put on your rubber boots, gloves, and safety goggles.
- Mix your etching acid or powder with water in a plastic watering can. Always pour acid into water, never water into acid, to avoid dangerous splashing.
- Sprinkle the solution evenly across the floor. You will see it instantly bubble and fizz as it reacts with the lime in the concrete.
- Scrub the fizzing acid deep into the floor using your stiff brush.
- Rinse the floor thoroughly with fresh water at least three times to wash away any leftover acid residue.
- Dry Time: Let the floor dry completely for 24 to 48 hours. Place a few high-powered standing fans in the room to force the moisture out.
Step 2: The Fast Mix (Watch the Clock!)
Once you pour Part B into Part A, a chemical countdown starts.
In colder Western countries, you might have two hours to leisurely apply your paint. However, in Singapore’s tropical heat, ambient warmth speeds up the cross-linking reaction significantly. Your realistic painting window—known as the “pot life”—is closer to 45 to 60 minutes before the liquid transforms into an unusable, thick jelly inside your bucket.
Stir Part A on its own first using a paint stick to redistribute any settled color pigments. Next, pour the entirety of Part B into the bucket. Attach a mechanical paint mixer to an electric drill and blend the fluids at a slow speed for exactly 3 minutes. Make sure to scrape the sides and the very bottom of the bucket so that every drop is perfectly blended. If you mix too fast, you will trap air bubbles in the paint, which will ruin the final look.
Step 3: Rolling It Out Smoothly
Never paint yourself into a corner! Always map out your path so you end up finishing right at the exit door.
1. Cut the Edges First
Dip your regular paintbrush into the mixed epoxy and paint a 2-to-3-inch border along the walls, skirting boards, and tight corners where your large roller cannot reach.
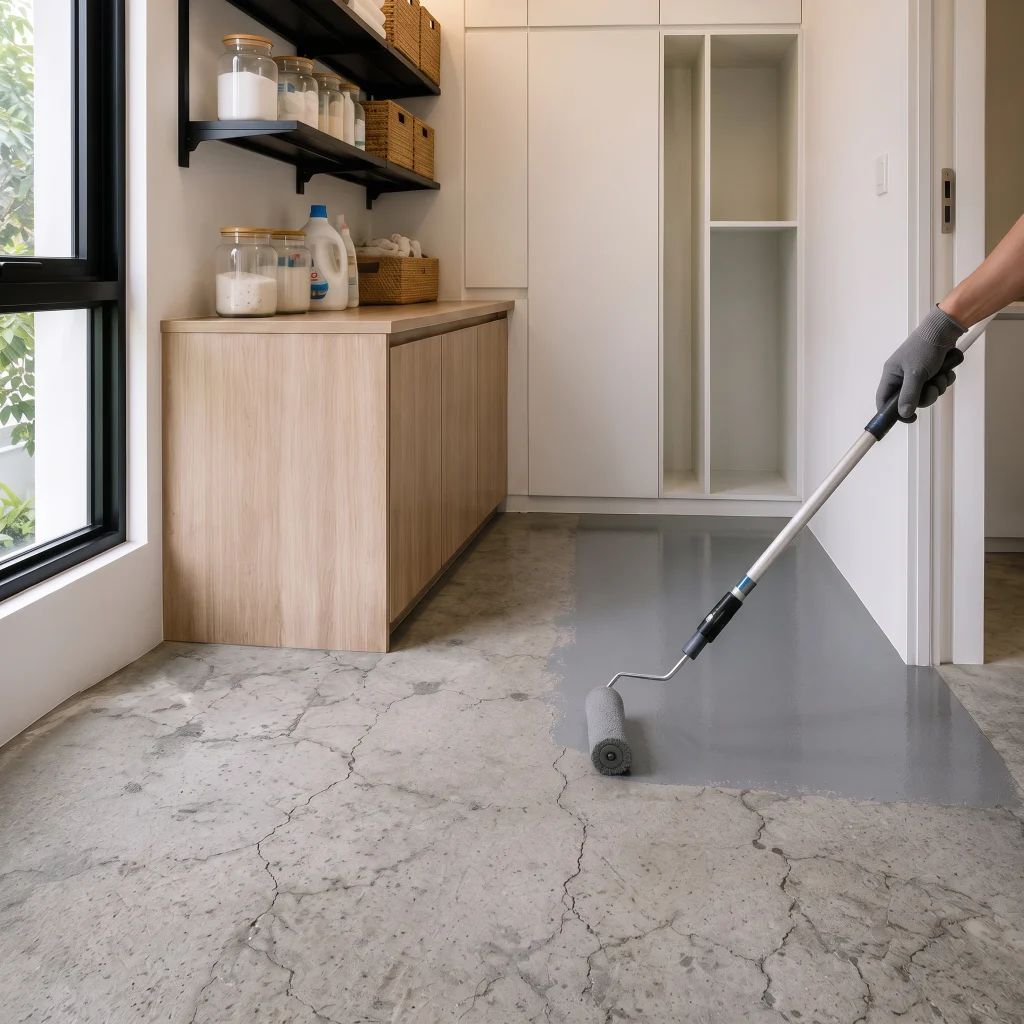
2. Pour and Roll
Do not work out of the paint tray—it wastes time. Instead, pour the mixed epoxy directly onto the concrete floor in long, thin ribbons. Take your paint roller and spread the paint out in small, manageable 4×4 foot sections.
- Roll in one uniform direction, then immediately cross-roll the other way (perpendicular) to eliminate uneven patch marks.
- Work at a steady pace to keep a “wet edge.” This means overlapping the edge of your new paint section with the previous one before it starts to dry.
- Adding Flakes? If your kit includes decorative color chips, toss them high up into the air over the wet epoxy. Let them drift down evenly across the surface. Do not throw them straight down or you will end up with messy, concentrated clumps.
Step 4: Step Away and Let It Cure
Once the floor is coated, seal the room, turn off any overhead fans that might blow dust onto the wet floor, and let it cure. Do not let family members or pets walk in out of curiosity!
- Light foot traffic: Wait a minimum of 24 hours before walking on it.
- Moving heavy items: Wait at least 3 days before dragging heavy shelves, storage boxes, or appliances back into the space.
- Vehicles and motorbikes: Wait a full 7 days. The heavy weight and heat from rolling tires can easily melt and rip up fresh epoxy if it has not completely cured into its final hardened state.
[3] https://galaxy-painters.weebly.com
[5] https://espertopaintworks.com
[6] https://asset.sg

Teo Fei Guak - SMP Colour & Paint Specialist
Sharing practical house painting tips, smart techniques, and real-world industry insights.