
The BTO Household Shelter Dilemma: Epoxy vs. Vinyl vs. Tiles (What’s Actually Allowed?)
Share This Blog
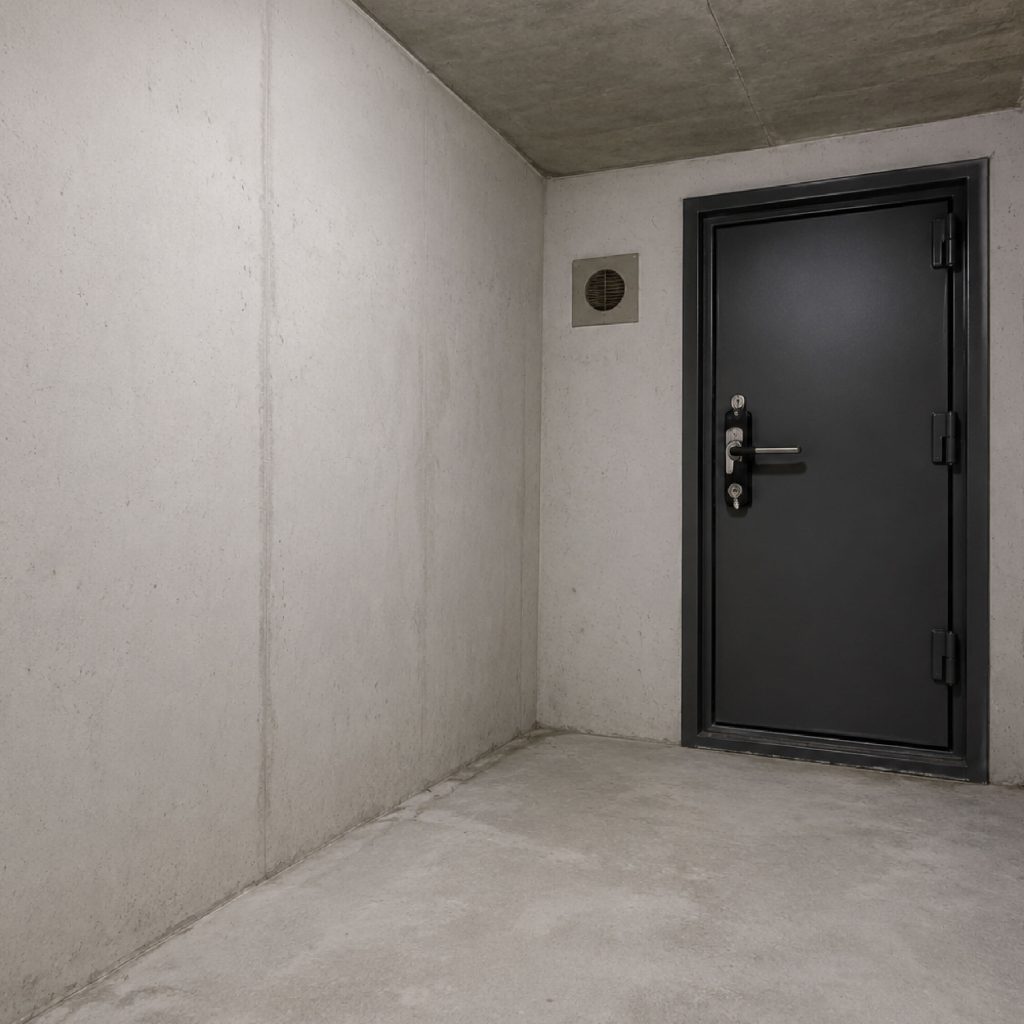
Congratulations on getting your keys! If you are a new Housing & Development Board (HDB) Build-To-Order (BTO) flat owner in Singapore, you know that the renovation journey is filled with a million decisions. But there is one tiny room that leaves almost every homeowner scratching their head: the mandatory Household Shelter (commonly referred to as the bomb shelter).
By default, HDB hands over this room with completely raw, porous, and dusty concrete floors. It looks sterile, feels rough underfoot, and continually kicks up fine gray concrete dust that tracks right out into your beautifully renovated living room or kitchen. Naturally, you want to cover it up or paint it.
However, before you let loose your contractor or run to the nearest hardware store, you need to understand that the household shelter is not a regular storeroom. It is a highly regulated structural reinforcement designed for your survival. If you modify it incorrectly, you could face hefty fines from HDB or, worse, compromise your safety.
Let’s dive deep into the official HDB regulations, weigh the pros and cons of the three most 22 popular flooring options—epoxy coatings, vinyl planks, and ceramic tiles—and explain why an industrial-grade epoxy system from a trusted provider like Seamaster Paint Singapore is the absolute ultimate solution for this tricky space.
The Golden Rules: Understanding HDB Household Shelter Regulations
The Housing & Development Board enforces strict guidelines concerning what can and cannot be done to a household shelter. Because these walls and floors are cast with high-strength reinforced concrete designed to withstand blast impacts, structural integrity is paramount.
Here is a quick summary of the primary constraints:
- No Hacking Allowed: You are strictly forbidden from hacking or drilling into the internal walls, floor slab, ceiling, or the blast-resistant steel door. According to official HDB renovation guidelines, “No hacking of walls or floors is allowed within the Household Shelter.”
- No Heavy Structural Load: You cannot lay thick, heavy floor screeds or massive slabs of natural stone that drastically alter the weight or height of the room.
- Ventilation Controls: You cannot block the ventilation sleeve or modify the airtight rubber seal around the steel door frame.
Because hacking is completely illegal, you cannot remove the existing concrete floor. Whatever material you choose must sit cleanly on top of the raw slab without requiring structural damage.
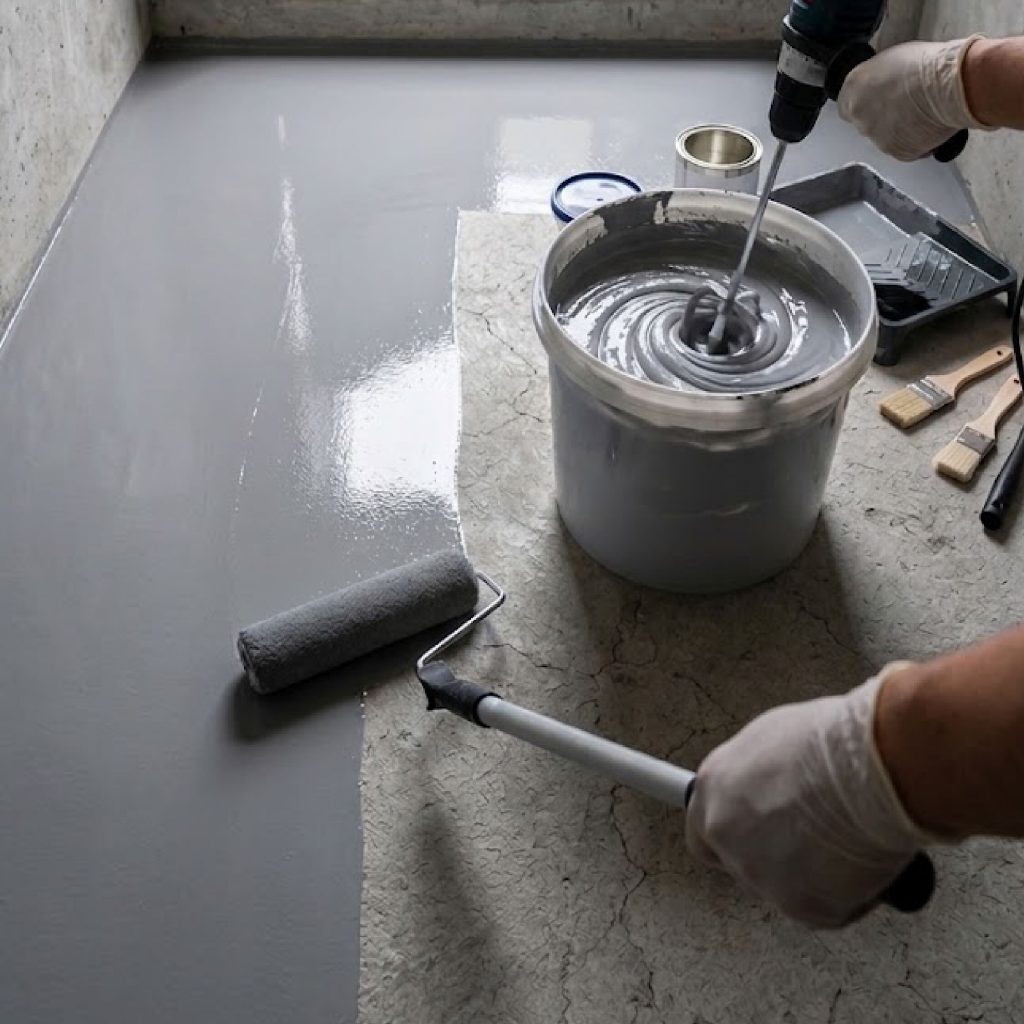
The Great Flooring Showdown: Epoxy vs. Vinyl vs. Tiles
How do the three most popular flooring materials stack up against each other inside a tightly enclosed, zero-ventilation concrete box? Let’s break down the advantages and pitfalls of each option.
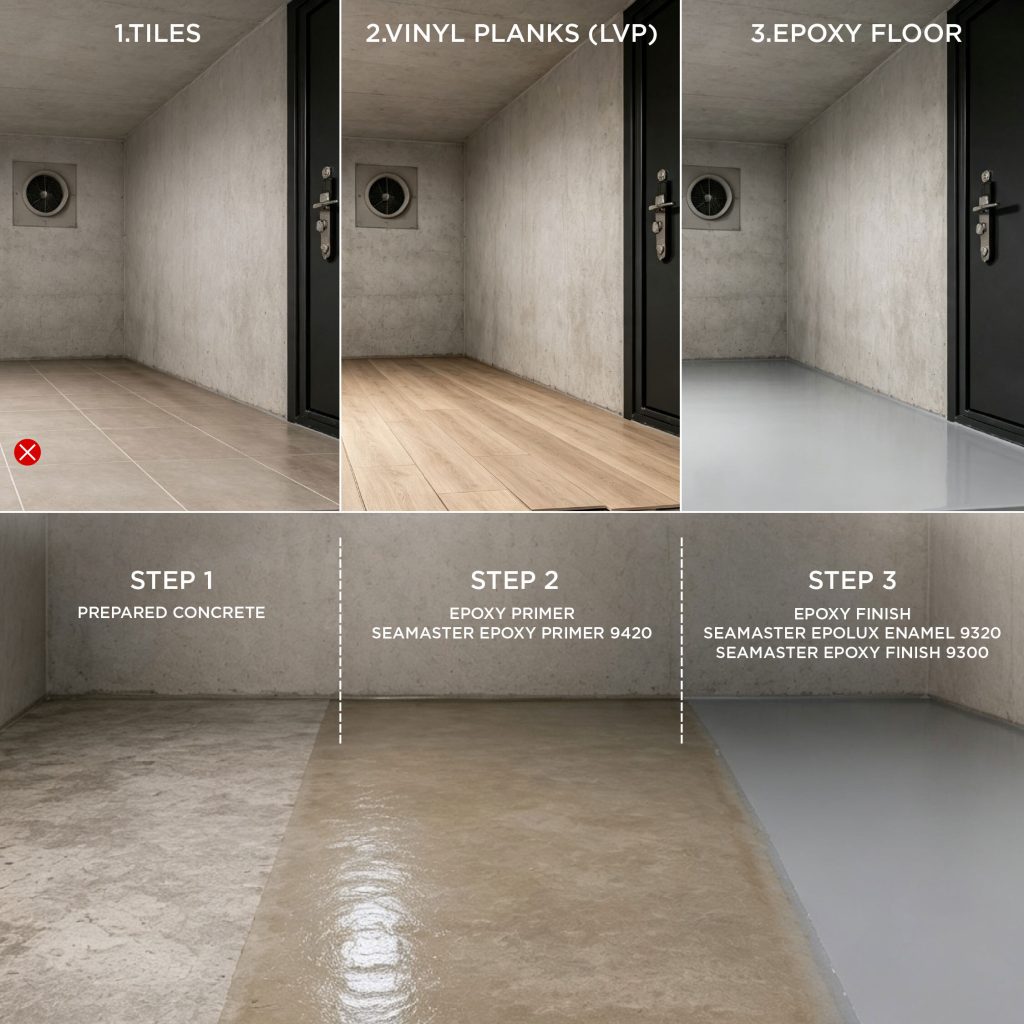
1. Traditional Tiling (Ceramic or Homogeneous)
Many homeowners default to tiling because they are already tiling the rest of their kitchen or living room.
- The Trap: Because you are not allowed to hack the floor, your tiler must lay the new tiles directly on top of the raw concrete using thick mortar or tile adhesive.
- The Problem: This creates a significant vertical build-up. A standard layer of mortar plus a homogeneous tile can raise your floor level by 15mm to 30mm. This results in an ugly, hazardous trip hazard right at the entrance of your shelter. Even worse, if the tile layer is too thick, it can scrape against the bottom of your heavy blast door, ruining the airtight rubber seal and preventing the door from opening or closing smoothly.
2. Luxury Vinyl Planks (LVP) or Vinyl Tiles
Vinyl is affordable, fast to install, and comes in beautiful wood-grain textures. It seems like a quick, painless DIY solution for a storeroom.
- The Trap: Vinyl planks require a smooth surface to stick properly, meaning you’ll need to lay a self-leveling compound first. Furthermore, vinyl is entirely non-porous and acts as a vapor barrier.
- The Problem: Singapore’s tropical climate is notoriously humid. Because the bomb shelter stays tightly shut 99% of the time with zero natural ventilation, moisture rising through the ground concrete slab gets permanently trapped directly beneath the vinyl sheets. Over a couple of years, this trapped dampness breaks down the vinyl adhesive, resulting in warped planks, hollow buckling, and a breeding ground for black mold and musty odors.
3. Industrial-Grade Two-Part Epoxy Paint
Epoxy coatings are liquid chemical compounds made by mixing a resin base with a hardener. They cure to form a rock-hard, continuous plastic-like shell right over the concrete.
- Why It Wins: Epoxy is incredibly thin—usually measuring less than 1mm to 2mm in thickness. It adds virtually zero vertical height to your floor, meaning your blast door will safely clear the floor with room to spare.
- The Structural Advantage: It bonds mechanically to the pores of the concrete. Instead of sitting loosely on top like vinyl, it becomes an integrated part of the floor slab. It is completely seamless (no grout lines to scrub), entirely waterproof, resistant to heavy storage racks, and completely stops concrete dust from forming.
The Ultimate Comparison Matrix
Feature | Ceramic/Homogeneous Tiles | Luxury Vinyl Planks (LVP) | Two-Part Epoxy Paint |
HDB Compliance | Risky (Can jam the blast door) | Compliant (But prone to failure) | 100% Compliant (Ultra-thin profile) |
Thickness/Build-up | High (15mm to 30mm) | Medium (3mm to 5mm) | Negligible (<2mm) |
Moisture Resistance | Fair (Grout lines absorb dampness) | Poor (Traps moisture, warps, molds) | Excellent (Waterproof & seamless) |
Durability (Heavy Racks) | High (But can crack under impact) | Poor (Racks scratch & dent vinyl) | Extreme (Industrial impact resistant) |
Dust Elimination | Medium (Grout lines trap dirt) | High | Perfect (Seals concrete completely) |
The Perfect Paint System: Adding High-Performance Seamaster Products
To make your DIY epoxy floor a permanent success, skipping steps or choosing lower-grade alternative coatings will only guarantee premature peeling. For a flawless bomb shelter floor that withstands heavy storage racks, you can rely on the high-performance industrial coatings offered by Seamaster Paint Singapore:
1. The Essential First Step: Seamaster Epoxy Primer 9420
Before laying down your color coat, you must apply a reliable primer coat. The Seamaster Epoxy Primer 9420 is designed specifically to anchor onto interior masonry and cement surfaces. It provides exceptional adhesion properties, fills micro-pores in the concrete, and creates a uniform barrier that prevents underlying moisture from pushing up against your top finish.
2. The Heavy-Duty Shield: Seamaster Epolux Enamel 9320
For your main color coat, the Seamaster Epolux Enamel 9320 series is an industry legend. This premium two-pack epoxy resin-based coating is cured via a hard-wearing polyamide activator. It is engineered to resist intense mechanical abrasion, impacts from dropped tools, and harsh home cleaning chemicals. It is completely wallet-friendly and gives your floor a brilliant, high-gloss industrial shine that is a breeze to wipe down. Homeowners can select from popular shades like Executive Grey (EX9304), Misty Grey (EX9357), or a clean White (EX9102) to seamlessly integrate the shelter with modern home styling.
3. The Industrial Alternative: Seamaster Epoxy Finish 9300
Another brilliant option for high-traffic household concrete is the Seamaster Epoxy Finish 9300 system. Formulated with a precise 4:1 mixing ratio, this coating delivers exceptional chemical resistance and high volume solids to mask rough concrete imperfections effortlessly.
DIY Guide: How to Apply Epoxy in a Zero-Ventilation Bomb Shelter Safely
If you’ve decided to go with epoxy, it is an incredibly rewarding DIY weekend project. However, because a household shelter has no windows and only tiny ventilation sleeves, you must adapt your application process to stay safe.
Step 1: Gear Up for Total Safety
Do not underestimate the fumes of industrial paint in a small space. Before opening a single paint can, buy a proper chemical cartridge respirator mask (not a basic cloth or surgical mask) and protective goggles. Set up a heavy-duty standing fan right outside the blast door, pointing directly into the room to forcefully circulate fresh air.
Step 2: Clean and Profile the Concrete
Since you cannot hack the floor, you need to rough it up so the paint can grip it. Clean any oil stains with a heavy-duty degreaser. Next, use a commercial etching powder or a mild muriatic acid solution mixed with water to scrub the floor. The acid will fizz, opening up the pores of the smooth concrete until it feels like medium-grit sandpaper. Rinse thoroughly with clean water at least three times and let it dry with your fans running for a full 24 to 48 hours.
Step 3: The Moisture Check
Never paint over wet concrete. Use the plastic wrap test: tape a square of clear plastic wrap tightly to the floor using duct tape. Check it after 24 hours. If there are water droplets inside or the concrete looks dark, moisture is trapped. If your home is a ground-floor unit or an older flat, apply your Seamaster Epoxy Primer 9420 first to ensure a stable subfloor.
Step 4: Mix and Roll Efficiently
Open your two-pack kit, featuring the cost-effective, high-performance Seamaster Epolux Enamel 9320. Pour the polyamide type cross-linker (activator) completely into the epoxy vehicle base. Mix at a slow, steady speed using a mechanical mixer attached to a drill for exactly 3 minutes to ensure the activator completely cures the resin base.
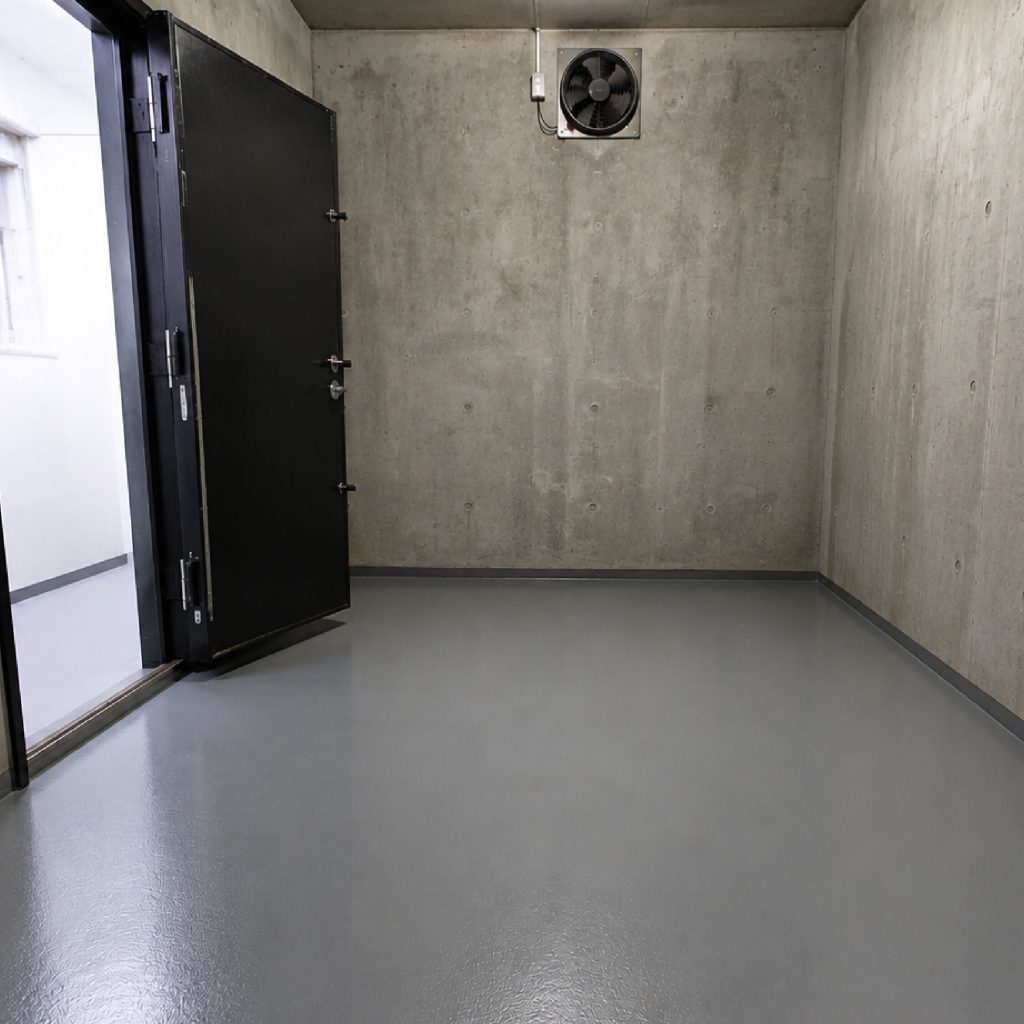
Unlike faster-curing formulas, Seamaster Epolux Enamel 9320 gives you a highly manageable and stable pot life of approximately 8 hours after mixing at room temperature. This generous working window allows you to apply the coat carefully without the fear of it turning into a thick jelly midway through your project.
Use a small paintbrush to cut your corners and edges first. Then, pour the remaining mixed epoxy onto the floor in clean ribbons. Spread it evenly using a solvent-resistant 3/8-inch nap roller, working backward toward your balcony exit door. The coating will be touch dry in ≤ 2 hours and hard dry in ≤ 6 hours, but remember to honor the official recoating interval of ≥ 16 hours before rolling on your next layer!
Step 5: Cure and Ventilate
Leave the external standing fan running for at least 24 hours to drive the fumes out and speed up the cross-linking process. Avoid stepping on the surface for 24 hours, and wait at least 4 to 7 full days before dragging heavy metal storage racks or storage boxes back into the room to ensure a complete, heavy-abrasion industrial cure.
Protect Your Space and Your Investment
Your HDB household shelter doesn’t have to remain a dark, dusty, uninviting concrete cavern. By choosing a thin, high-performance two-part epoxy system from Seamaster Paint over bulky tiles or moisture-trapping vinyl, you respect the strict safety rules of HDB while creating an immaculate, dust-free storage space that lasts for decades.
[1] https://renovationcontractorsingapore.com
[2] https://seamasterpaint.com.vn
[3] https://www.gluckhardware.com.my

Teo Fei Guak - SMP Colour & Paint Specialist
Sharing practical house painting tips, smart techniques, and real-world industry insights.
Table of Contents
- The Golden Rules: Understanding HDB Household Shelter Regulations
- The Great Flooring Showdown: Epoxy vs. Vinyl vs. Tiles
- The Perfect Paint System: Adding High-Performance Seamaster Products
- DIY Guide: How to Apply Epoxy in a Zero-Ventilation Bomb Shelter Safely
- Protect Your Space and Your Investment